
Login

Shoutbox
You must login to post a message.
renatoa
04/29/2024 1:50 AM
 , OptomAvad
allenb
04/26/2024 11:19 AM
Mongke

renatoa
04/26/2024 7:26 AM
 , bmartin1000
renatoa
04/25/2024 2:03 AM
AGZ and Intercolcoffee

allenb
04/23/2024 7:01 PM
Paul Kalb
Forum Threads
Newest Threads
Lift blowerRoast Color Meter - ...
Skywalker roaster mods
Hello from Montreal ...
War on Farmers by Su...
Hottest Threads
| Skywalker roaster... | [306] |
| Skywalker Roasts | [94] |
| Rainfrog's Roastm... | [54] |
| War on Farmers by... | [40] |
| Green coffee sellers | [18] |
In Memory Of Ginny

Donations
Latest Donations
dmccallum - 10.00
JackH - 25.00
snwcmpr - 10.00
Anonymous - 2.00
Anonymous - 5.00
dmccallum - 10.00
JackH - 25.00
snwcmpr - 10.00
Anonymous - 2.00
Anonymous - 5.00
Users Online
Guests Online: 3
Members Online: 0
Total Members: 8,231
Newest Member: OptomAvad
Members Online: 0
Total Members: 8,231
Newest Member: OptomAvad
View Thread
Who is here? 1 guest(s)
 Copper door & lower hinges completed - 3/4 lb, heating element, drum type build log
|
|
| rcwarship |
Posted on 08/16/2009 10:36 PM
|
 1/4 Pounder  Posts: 143 Joined: April 22, 2009 |
Thanks for the kind words & the thoughts on the type of wood. Maple definitely sounds about right. A friend suggested it might also be curly cherry, which also sounded reasonable after looking up some pictures on the internet. He stated that most people think the cherry is a red wood, which was my impression as well. He explained that early American cabinet makers wanted a local wood that resembled imported mahogany & started staining the cherry a reddish tinge to imitate the imported wood. Who'd have thought? Tomorrow the welder is supposed to have the tube welded up, it'll be interesting to see how much it warped. Best Regards To All, Jon Tell me and I forget, show me and I remember, involve me and I understand.
|
|
|
|
| John Despres |
Posted on 08/17/2009 4:09 PM
|
 Administrator Posts: 2221 Joined: January 09, 2008 |
Quote seedlings wrote: Quilted maple is sweet. I want some on my guitar. CHAD I like resonators on my guitars. Awesome looking work there! This roaster will be a work of art. John Respect the bean.
John Despres Fresh Roast 8, Gene Cafe, JYTT 1k, Quest M3, Mazzer Mini, Technivorm, various size presses and many more brewers. |
|
|
|
| rcwarship |
Posted on 08/21/2009 4:16 PM
|
|
1/4 Pounder Posts: 143 Joined: April 22, 2009 |
Yes sir John, it's going to look pretty nice, hopefully it will work well. Thanks for the kind words. Had a few days off from life, and thought I'd better get back at it. Good stuff is happening, the welder completed his work & there is very little distortion. Yippeee! Got the dump chute mocked up & the final shape determined: 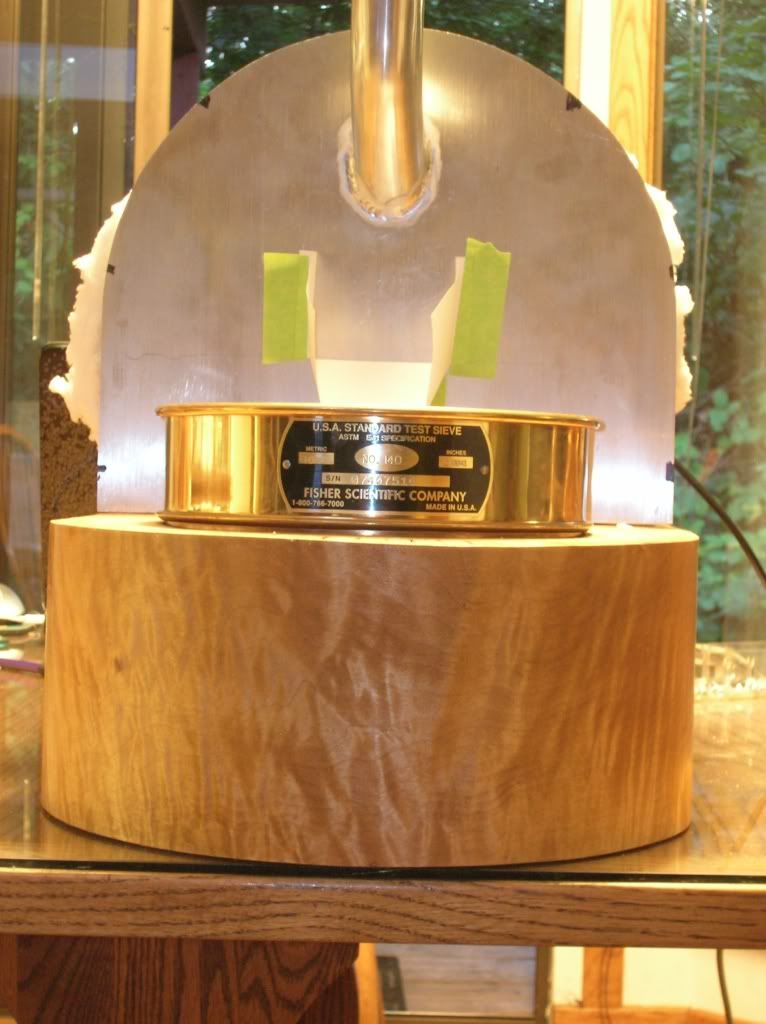 Created a pattern, ended up cutting the bottom flange off & just having 2 side flanges.  The actual forming didn't take much in the way of tools, two straight edges, a clamp and the edge of a table saw. A sharpie pen, an awl & a straight edge were used to make the forming lines. Lined up the marks on both pieces of aluminum straight edges, clamp, place up against the table edge & bend. Surprisingly easy....copper being so soft, made it a real snap. 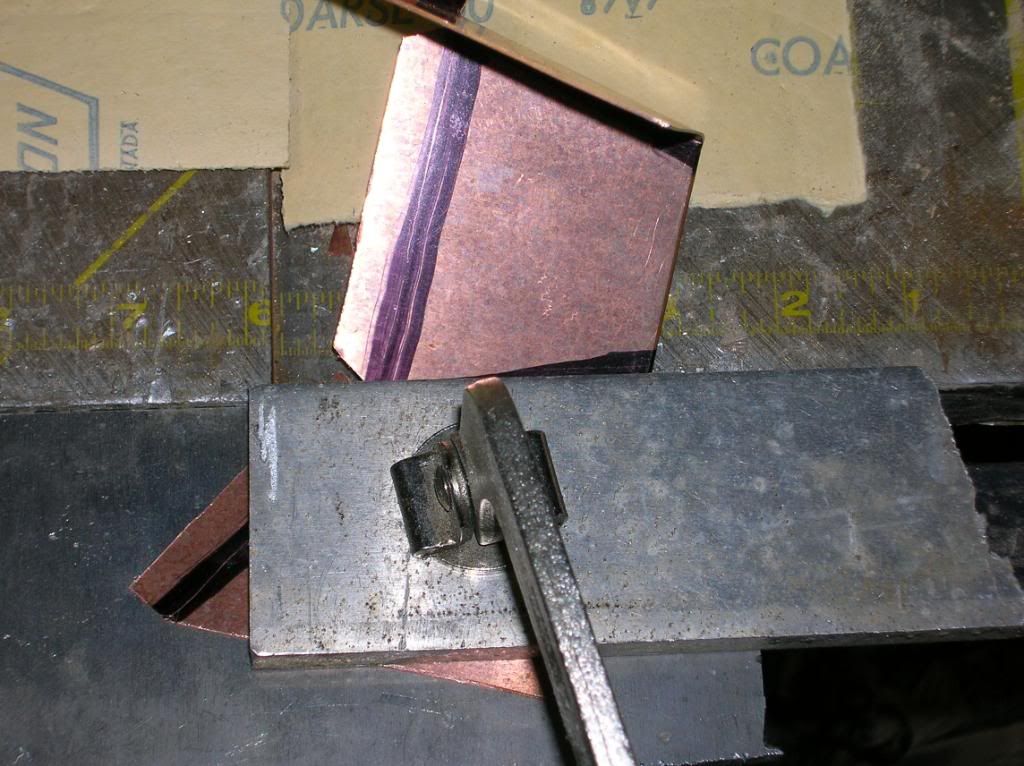 The tools & completed chute: 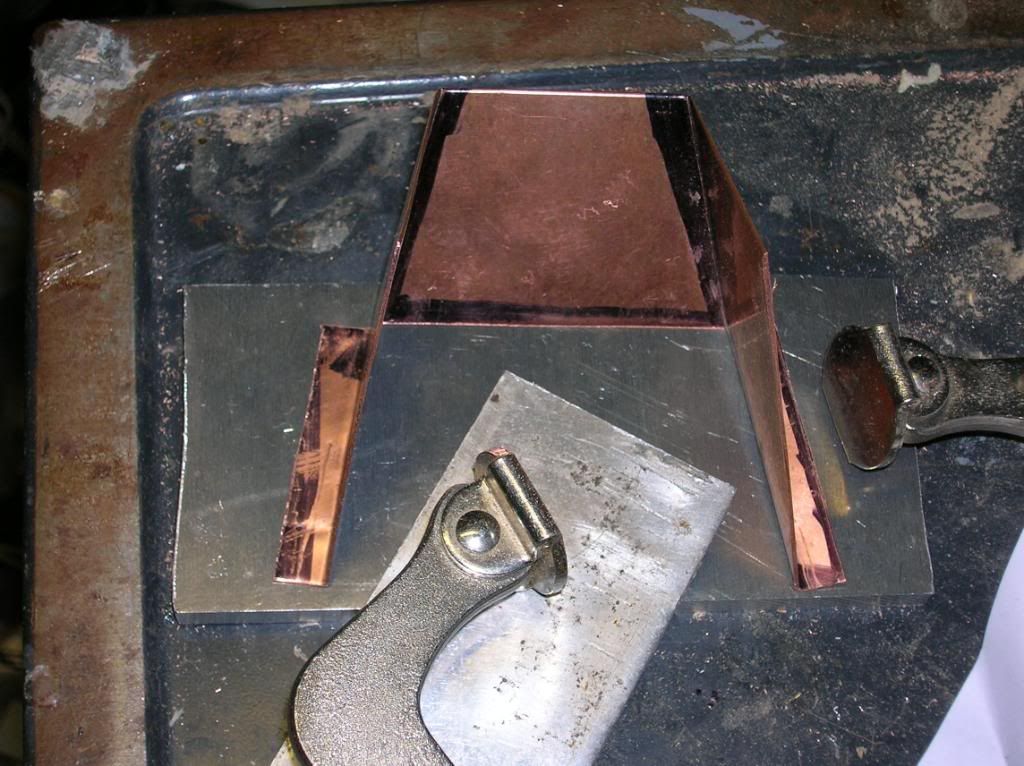 The chute in place: 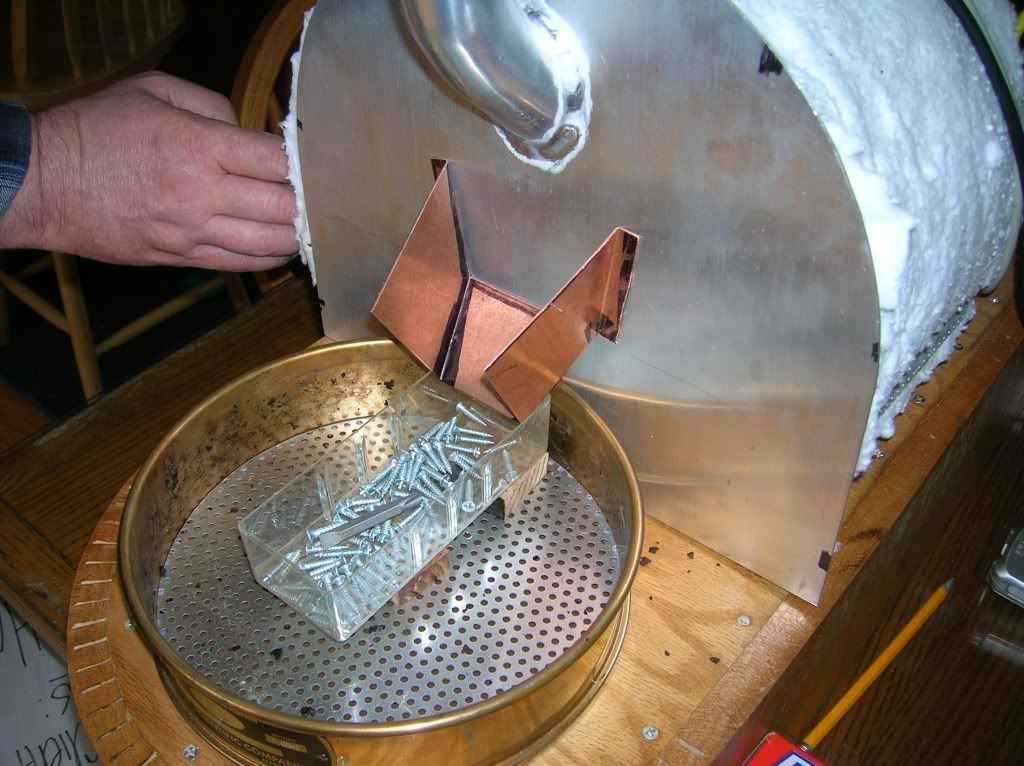 Next step is to get the wooden base flush on top, it's bowed up in the middle. You can see a 1/16" gap between the bottom of aluminum front piece & the base board on the right hand side of the picture. Still haven't figured out how I am going to do that. Any ideas? I had thought to maybe put some chalk on a flat board & rub it on the base, figuring that the chalk would transfer & highlight the high spot. Hate to have colored chalk around the light colored base board though. Best Regards To All, Jon Tell me and I forget, show me and I remember, involve me and I understand.
|
|
|
|
| seedlings |
Posted on 08/21/2009 4:47 PM
|
 1 1/2 Pounder  Posts: 4226 Joined: June 27, 2007 |
It's glorious! Regarding the top, can you cut a 3/4" thickness piece to size, then route out all the middle, underneath, 3/8", so that only the edges make contact with the top of the existing wood? CHAD Edited by seedlings on 08/21/2009 4:48 PM Roaster: CoffeeAir II 2# DIY air roaster
Grinder: Vintage Grindmaster 500 Brewers: Vintage Cory DCU DCL, Aeropress, Press, Osaka Titanium pourover |
|
|
|
| Beaner |
Posted on 08/21/2009 11:32 PM
|
 1/4 Pounder Posts: 143 Joined: July 22, 2009 |
Ok, I must assume you have already done this but I'm going to ask anyway. With the drum assembly and cooling tray removed, did you take a straight edge and verify that the wood base is ok and not the drum asembly that may be a bit off? An earlier pic looked like the drum faceplate was flat along the edge with the base so it's a bit confusing to me why it's off now. Photos however can be misleading. If this was my project my checklist to locating the problem would be: * all spacer boards cut equal length? * both top and bottom baseboards are planed equal thickness? * drum assembly lays flat on another known flat surface? I figure you have checked these already but it doesn't hurt to ask. What will be placed on top of the baseboard that the cooling tray sits on? Is the drum faceplate supposed to be flat along the baseboard or is there supposed to be a equal gap from side to side? |
|
|
|
| rcwarship |
Posted on 08/23/2009 4:37 PM
|
|
1/4 Pounder Posts: 143 Joined: April 22, 2009 |
Chad & Beaner, You guys have nailed it. Going to have to use the router to get it leveled out. Come to find out it's not so much bowed as just low on 1 side. So, next step is to make a "bridge" around the roaster base to run a router back & forth on. I've got tomorrow & Tuesday off, so that will be the project for the week. Thanks guys, Jon Tell me and I forget, show me and I remember, involve me and I understand.
|
|
|
|
| rcwarship |
Posted on 08/25/2009 12:24 PM
|
|
1/4 Pounder Posts: 143 Joined: April 22, 2009 |
Yesterday's progress was routing the top flat. Total material removed was a hair over 3/16" (4.3mm). The failure was not taking the time to screw the base pieces down to a flat surface prior to bending the board around it. The "Frankenstein" arrangement allowed too much movement. However, as they say, "all's well that ends well".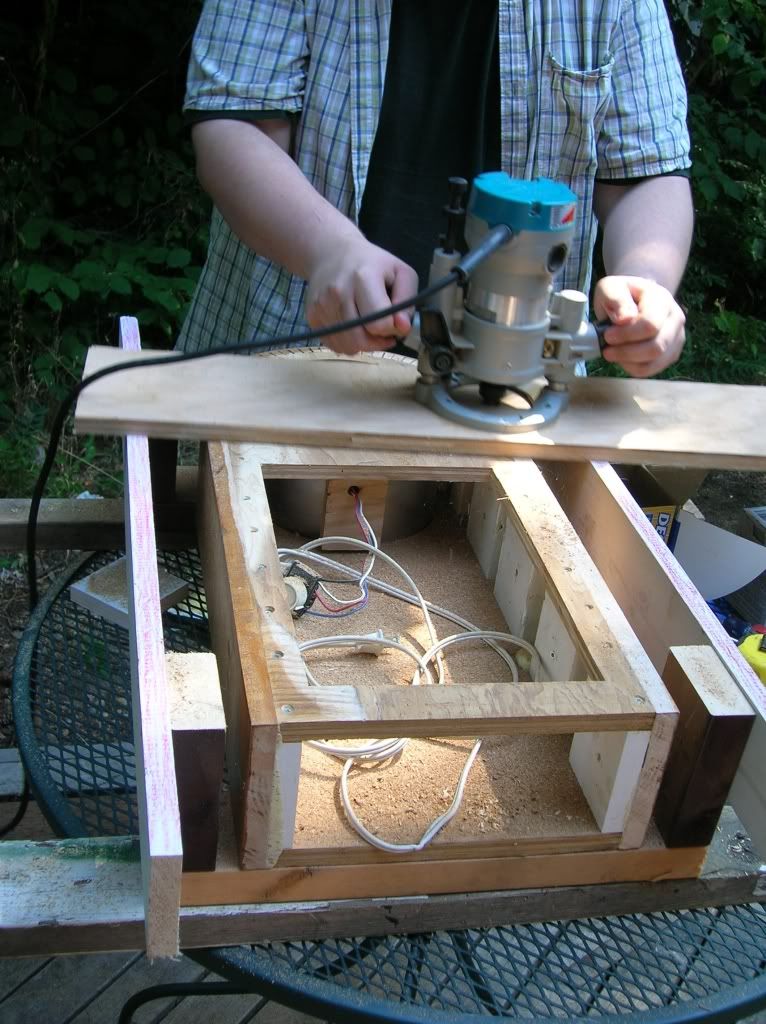 In order to keep the top as parallel to the base as possible, 4 spacers were gang cut (cut at the same time). The "rails" were then screwed to the uprights with the spacers under them. The thickness of the top piece after routing was within .040" (1.06 mm). A brick red crayon was run over the top of the rails to provide a smooth working apparatus. The blower was also mounted in it's final position, it is currently set up to suck down through the beans so that the screen in the base of the cooler can catch the chaff. With 140x140 mesh screen, it may be too restrictive as the chaff accumulates, in which case another fan blade will be installed to blow up through the beans. 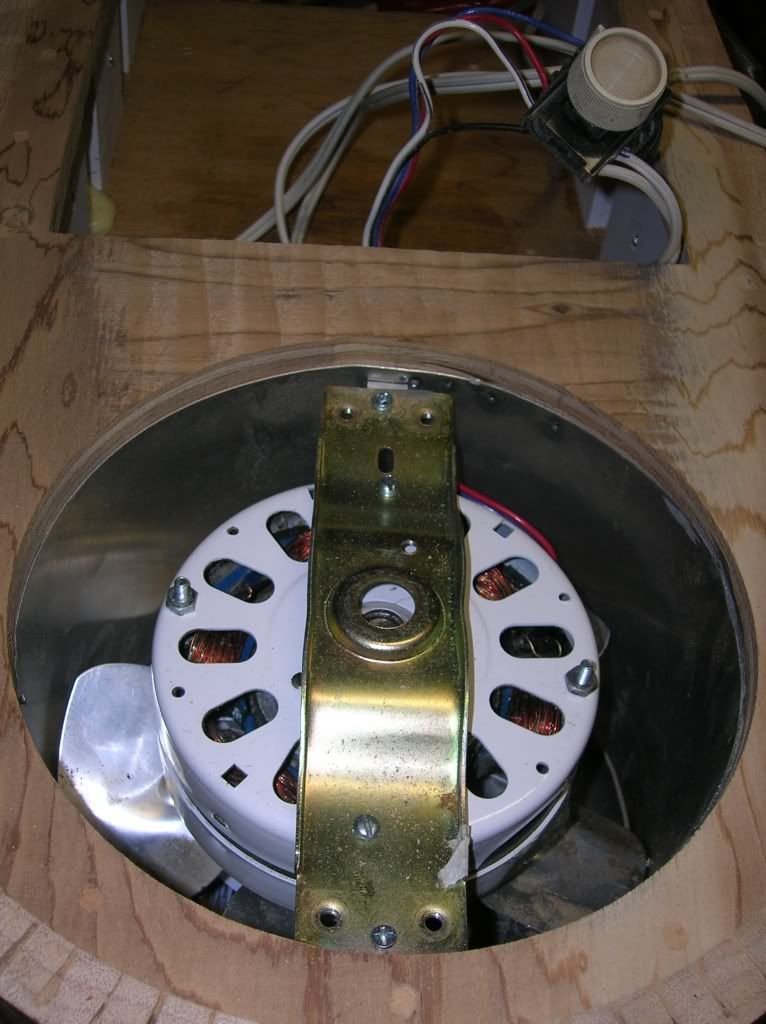 Best Regards To All, Jon Tell me and I forget, show me and I remember, involve me and I understand.
|
|
|
|
| rcwarship |
Posted on 09/05/2009 12:32 AM
|
|
1/4 Pounder Posts: 143 Joined: April 22, 2009 |
Some progress on roaster, broke the motor/screw combo for dumping the beans, got another one on it's way along with a piece of tempered glass for the sight glass. The original plan was to use a round copper fitting for the sight glass, however, after seeing the beautiful job done by Neil (Boom)........ 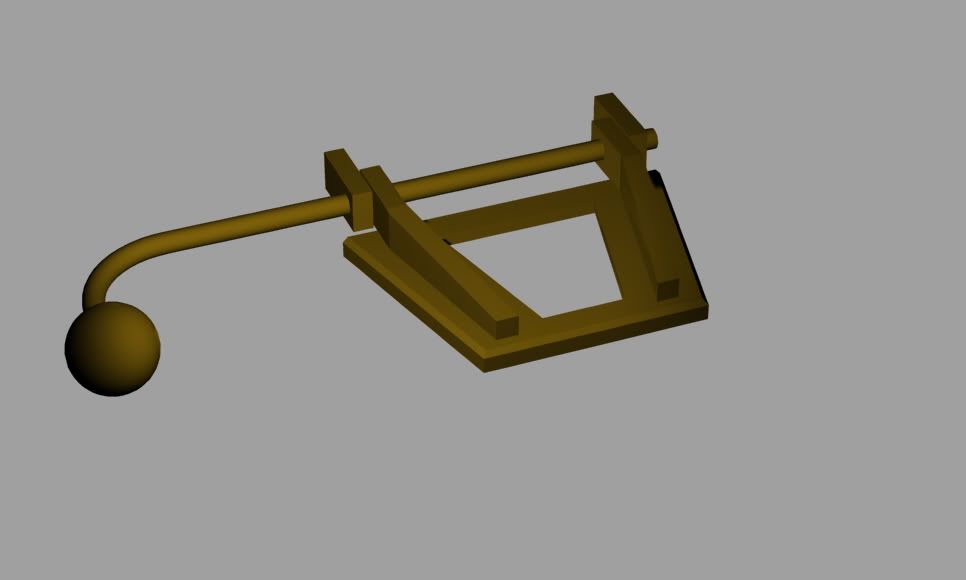 The base has had it's 5 coats of polyurethane added & has been hit with 2000 grit wet/dry paper lubricated with cooking oil. It feels as good as it looks now. My youngest son took a movie of it after completion of sanding, pretty sweet stuff. 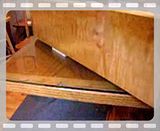 The roaster has also been mounted and is awaiting the new motor for dumping the beans. Best Regards To All, Jon Tell me and I forget, show me and I remember, involve me and I understand.
|
|
|
|
| rcwarship |
Posted on 09/11/2009 10:39 PM
|
|
1/4 Pounder Posts: 143 Joined: April 22, 2009 |
This door/hinges are proving to be extremely time consuming (8+ hours to date), however, they are coming along well. I have a table saw metal cutting blade from a previous project, rated for aluminum, works well for copper also: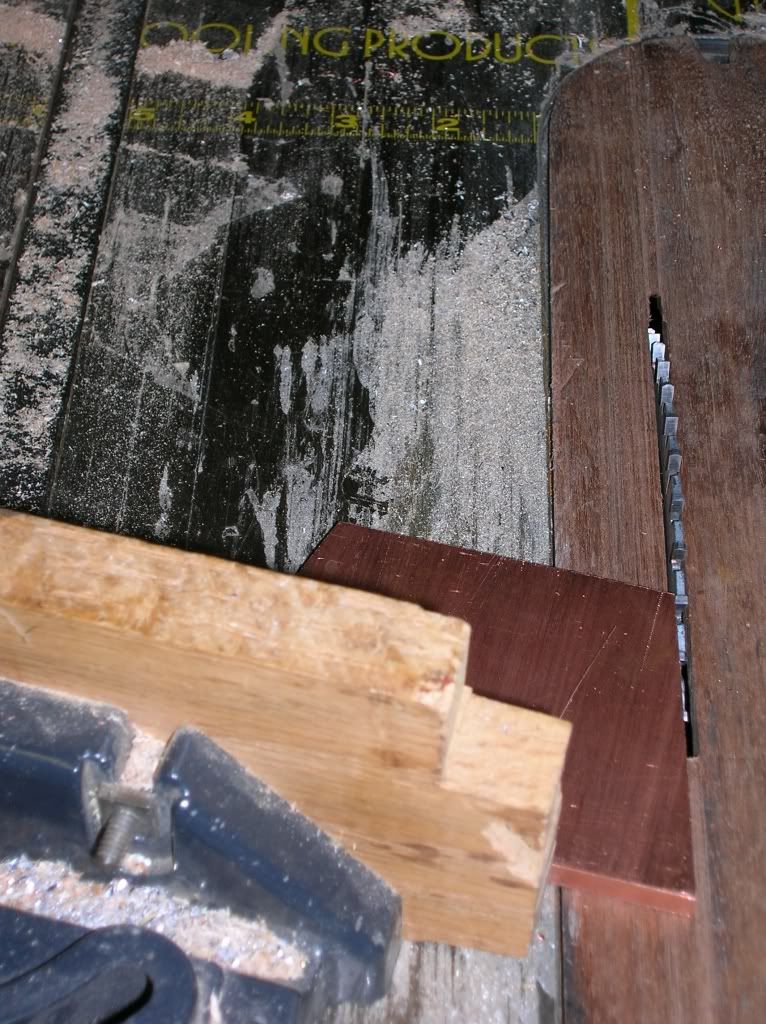 I don't have a milling machine (yet, been saving for almost 3 years, it'll be arriving around Christmas), so a router with a carbide bit was used. The copper was very securely screwed to a board, which in turn was clamped down so that there was no movement. Free handing sucks!!! I couldn't stay within my construction lines no matter hard I tried. A few days later the solution hit me: cover the inside of the door with a thin layer of aluminum to keep the beans from getting jammed between the glass & the copper door: 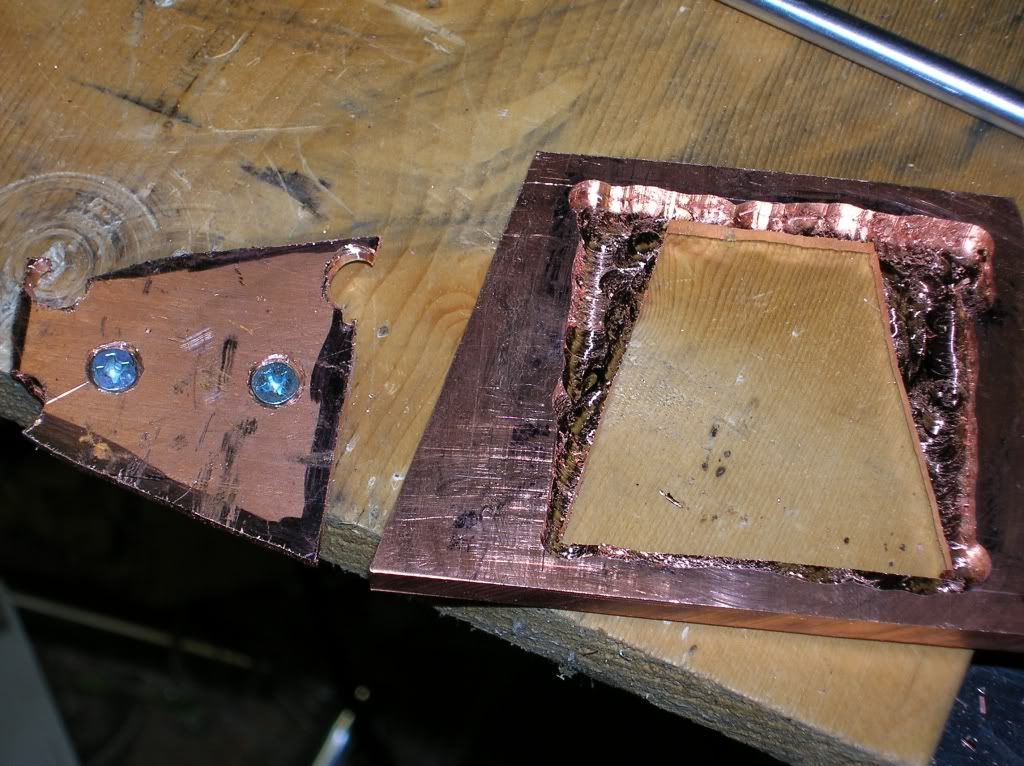 Lower hinges were fabricated this evening, upper ones & tilting arm remain to go. I am also thinking about casting a large coffee bean for the counter weight, should be fun. I don't have much artistic ability, however, my younger son volunteered to give it a go. 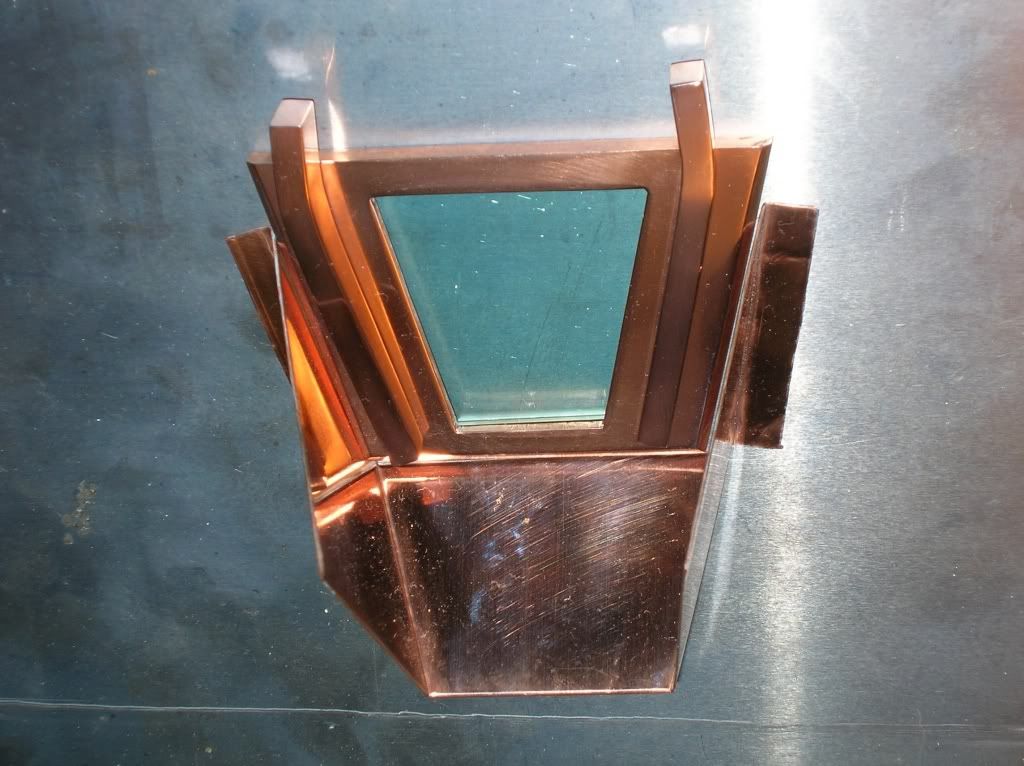 Best Regards To All, Jon Tell me and I forget, show me and I remember, involve me and I understand.
|
|
|
|
| John Despres |
Posted on 09/12/2009 7:55 AM
|
|
Administrator Posts: 2221 Joined: January 09, 2008 |
WOW!
Respect the bean.
John Despres Fresh Roast 8, Gene Cafe, JYTT 1k, Quest M3, Mazzer Mini, Technivorm, various size presses and many more brewers. |
|
|
|
| boom |
Posted on 09/12/2009 10:49 AM
|
|
1/4 Pounder Posts: 150 Joined: June 08, 2009 |
That looks incredible!! Congrats on a great job.
A good espresso should give you hair on your chest!
Nuova Simonelli Mac Cup S, Mazzer Super Jolly, 1962 Faema President 2-group Lever, 1960 Faema Urania Grinder, 2kg profile controlled roaster |
|
|
|
| somegeek |
Posted on 11/24/2009 4:29 PM
|
 Newbie  Posts: 44 Joined: November 16, 2009 |
This is coffee roaster porn if I ever saw it. Keep those pics coming. This is pretty.
Edited by somegeek on 11/24/2009 6:19 PM |
|
|
|
| TheBlacksmith |
Posted on 05/24/2010 11:56 AM
|
 Newbie Posts: 16 Joined: May 23, 2010 |
What happened to/with this roaster? The last post that I see is 11/24/09. Was it finished? I got hooked and now I want to see the finished product! Help! 
Edited by TheBlacksmith on 05/24/2010 11:57 AM Danny
Espresso: PID'd Isomac Venus (4sale) Drip: Technivorm MoccaMaster Grinder: Baratza Vario Roaster: Behmor |
|
|
|

| Jump to Forum: |
Powered by PHP-Fusion Copyright © 2024 PHP-Fusion Inc
Released as free software without warranties under GNU Affero GPL v3
Designed with ♥ by NetriXHosted by skpacman