
Login

Shoutbox
You must login to post a message.
renatoa
07/26/2024 3:49 PM
Bill grubbe and Jk, 
allenb
07/26/2024 5:15 AM
Spiderkw Welcome to HRO!

renatoa
07/24/2024 8:31 AM
ramiroflores and John123,

 ?
?
?renatoa
07/21/2024 1:18 AM
 , Luislobo
renatoa
07/19/2024 11:28 AM
Koepea,
Forum Threads
Newest Threads
Skywalker roaster modsBackground Roast Iss...
Hello from Arkansas
TC4ESP
Green coffee reviews
Hottest Threads
| Skywalker roaster... | [375] |
| TC4ESP | [115] |
| War on Farmers by... | [47] |
| Adventures in flu... | [26] |
| Hello! (soon) Roa... | [17] |
In Memory Of Ginny

Donations
Latest Donations
dmccallum - 10.00
JackH - 25.00
snwcmpr - 10.00
Anonymous - 2.00
Anonymous - 5.00
dmccallum - 10.00
JackH - 25.00
snwcmpr - 10.00
Anonymous - 2.00
Anonymous - 5.00
Users Online
Guests Online: 6
Members Online: 0
Total Members: 8,393
Newest Member: Bill grubbe
Members Online: 0
Total Members: 8,393
Newest Member: Bill grubbe
View Thread
Who is here? 1 guest(s)
Page 2 of 2: 12
|
 Modifications to flour sifter for roasting?
|
|
| ruddhess |
Posted on 06/15/2018 3:30 PM
|
 Newbie  Posts: 29 Joined: May 31, 2018 |
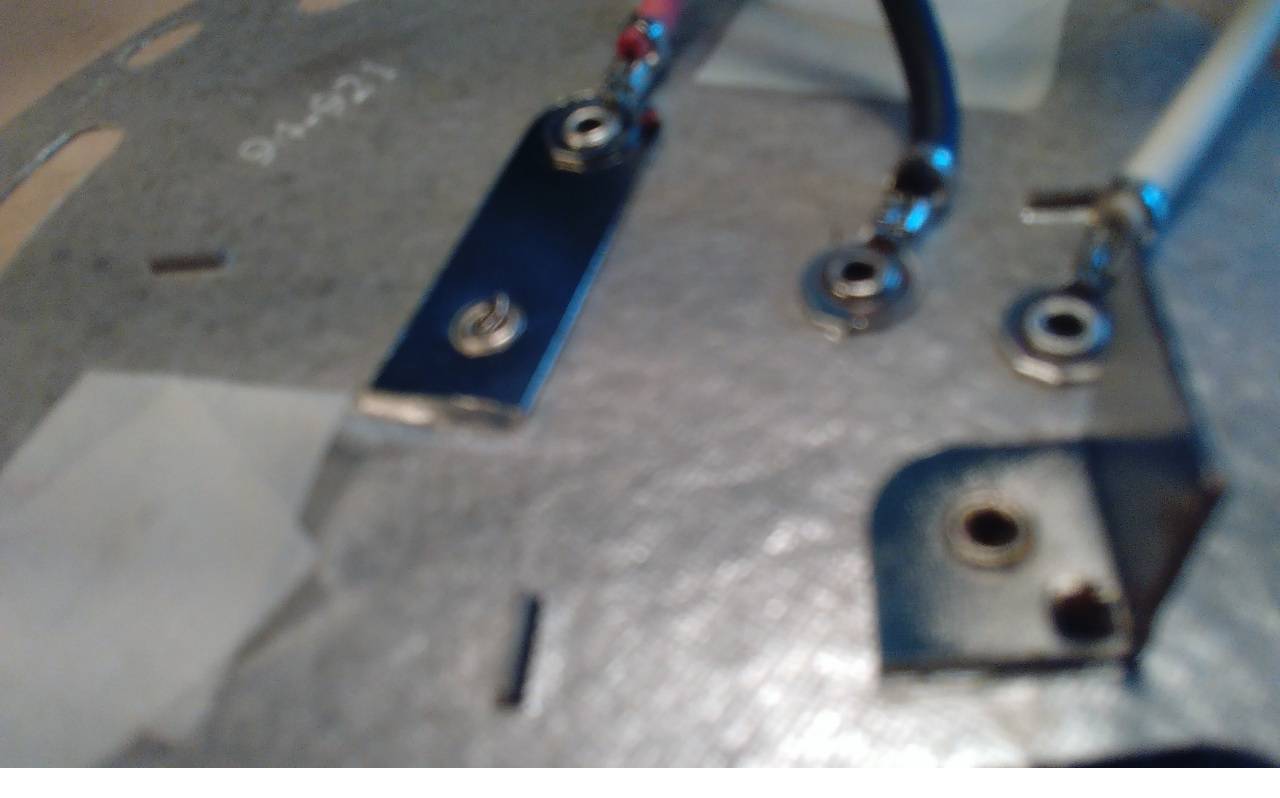
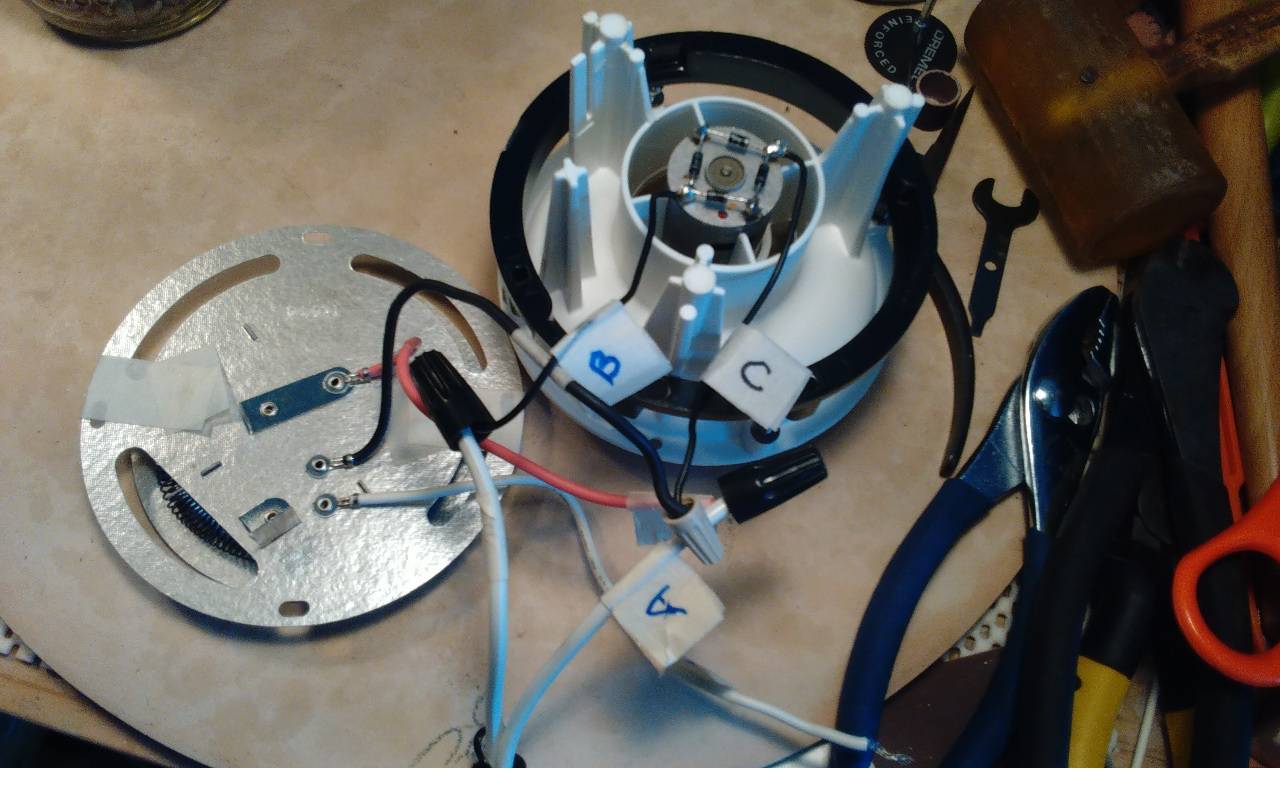
Alan, A couple of pics to show. Sorry about the blurry focus. In the really blurry photo, you might be able to see the end of the secondary element sticking up out of the rivet hole at the end of the metal tab connected to the red wire. Also you can see in the overview pic where I completely cut out the bi-metal thermal control and the "big white sharpening stone looking thingy with two wires sticking out of each end", lol. The other picture is of the 4 diodes on the little DC motor. I fired the fan up again a few minutes ago and let the coil get "red" (looks more like orange to me) hot. Everything held up fine. It is all sitting on a second hand pizza stone (my ceramic/pottery work space) so it won't scorch or burn anything. I felt how hot the mica board got - not too hot, but couldn't touch it for very long with bare fingers. BTW, do you know what those "strings" are made of inside each of the elements/coils? Looks like kevlar, but I'm assuming it is some kind of kaolin type substance. Hope you enjoy seeing the photos. And thanks for looking. Cheers, Rodney
ruddhess attached the following images:

|
|
|
|
| AMRoberts |
Posted on 06/18/2018 9:13 AM
|
|
Newbie Posts: 30 Joined: March 24, 2018 |
Quote No worries, they are pretty much what I expected from the hacking I've done on my popper and a lot of reading on the popper's forum here. I got a bit luckier on mine than the one you've been modding ... The thermostat limiting my temps was mounted on the side wall of the chamber. Line voltage for the main coil was wired through this, but the wiring was crimped-on spade terminals, I just had to yank them off the thermostat to bypass it. So I didn't disassemble the fan/coil(s) unit. There may be a one-time thermal fuse on the insulating board of the heater, but if so mine hasn't failed (yet), even taking air temperature slightly over 500F. The discrete diode bridge rectifier on the base of my motor looked exactly like your picture. Once I knew I had a DC motor I decided to use an external DC power supply and a DC voltage controller to run the fan. I removed bridge from the motor terminals and put wires on the motor which exit the popper. A leftover printer power brick provides the DC, and an off-Amazon PWM controller (a DC equivalent of the Harbor Freight router speed controller) adjusts fan speed. This probably cost me a little bit more than an AC light dimmer feeding the secondary coil would have, but the DC supply and PWM controller can be re-tasked to the motor I'm planning to turn the axle on my sifter roaster. Since I didn't need the secondary coil to drop line voltage to match the fan motor, I just wired it in parallel with the main coil. Provided a slight increase in total heat available. I put mine back in the original shell, since that gave me a way to dump the beans at end of roast using only a work glove. So I have four wires exiting the popper, a pair for AC voltage to the coils, and a pair for DC voltage for the fan. I put connectors on these wires since I half-way expected to be replacing burned up poppers (this was before I fully appreciated the too-small batch size and too-much noise issues). Taking a cue from stories in the popper forum, these connectors will not allow anyone to plug my hacked popper back into a power outlet; they only mate with the corresponding connectors on my DC and AC controllers. Regards, Alan |
|
|
|
| ruddhess |
Posted on 06/18/2018 6:21 PM
|
|
Newbie Posts: 29 Joined: May 31, 2018 |
Hey Alan, Thanks for sharing the information about the modifications that you made to your popper! After reading your account of modding with the DC transformer and PWM, I can now see why so many people go this route. And wiring the two coils in parallel is a good route as well (I've just recently "boned up" on the differences between circuits in parallel and in series - I understood the "in series" because of my pottery kiln element replacement, but I knew essentially nothing about kilns wired "in parallel" - only that there were many kilns wired so - mostly bigger 240V kilns - and now I know why). Great idea using the electrical connectors that way - to prevent someone from being able to plug the modified appliance into the outlet. I put a piece of tape on my Air Crazy stating that the thermostat has been moved and that the popper isn't "safe" anymore. The tape "could" fall off someday, but I didn't remove or bypass it, just took it away from the side of the RC and let it dangle in the space below. I may put it back with high temp silicone sealant and small rivets. That popper has a really anemic blower motor, even though it gets plenty hot. So I might abandon it as a usable roaster. I think of myself as lucky in that my only "failure" (not exactly a failure) was one roast which was a "teeny bit" under roasted/developed due to trying to roast a full cup of beans (too large a batch - I don't weigh my "charges"). I attribute my luck to the popper I used first to roast with - West Bend Air Corn Popper 5209 (which I think has the same "guts" as the Poppery II) which seems to roast extremely well completely unmodified (aside from roasting too quickly - which is a characteristic of popcorn popper roasting). I really don't know why I want to roast larger batches. I can barely drink the fresh roasted batches quickly enough before they start to lose their best flavor. The small batches I'm doing are really ideal as far as size is concerned. To drink the freshest coffee, one needs to roast every 3-7 days (it seems). Cheers, Rodney
ruddhess attached the following image:

|
|
|
|
| lmc |
Posted on 02/01/2019 7:42 PM
|
|
Newbie Posts: 2 Joined: February 01, 2019 |
i modified my sifter in two ways: replaced the bails with paddles and moved the center of rotation about 1/4" from stock. this causes the near paddle to just miss the screen holding rib, but the far paddle clears the rib by about 3/8" to clear the beans. inside ends of both paddles clamp on the pivot rod with 4 screws and nuts. if you don't want to make paddles, just moving just the bail slightly off center will keep the beans from getting trapped between bail and screen rib. just make sure you rotate the bails (or paddles) in the correct direction! |
|
|
|
| allenb |
Posted on 02/02/2019 5:21 AM
|
 Administrator Posts: 3869 Joined: February 23, 2010 |
Welcome to HRO! Please post some photos so others can see details. This sounds like a nice improvement for the sifter method. 1/2 lb and 1 lb drum, Siemens Sirocco fluidbed, presspot, chemex, cajun biggin brewer from the backwoods of Louisiana
|
|
|
|
| Spyderman24-7 |
Posted on 02/02/2019 1:27 PM
|
|
Newbie Posts: 19 Joined: January 15, 2019 |
Quote ruddhess wrote: Alan, RE: Bushings: those bushings look like JUST the thing! I "googled" bushings the other day and saw some "oil impregnated" ones that look similar (supposedly Home Depot has them), but I don't know if they would be food safe, so it looks like you have found just the very item for the job! RE: Flour Sifter Durability: I haven't been roasting with my flour sifter that long to be able to say whether it will last very long under the heat conditions. I do though appreciate the simplicity of them and that they are cheap. The big 8 and 5 cup stainless steel ones with the black turn knob look fairly robust too. I just found my 5 cup sifter at the Goodwill for $3-4. It has flowers painted on the side, lol. I was a little worried about the paint, but it seems to be unaffected by the temps subjected to it so far. BTW, the roast from last Wednesday that took 12 minutes to go from green to yellow and then only 4 minutes from yellow/tan to 1st crack or just a bit beyond was SO much better than the roasts that I had been doing with jus the air popper alone (4 minutes or less? Just now starting to use my phone/stop watch to try and keep tabs on my roasts). I'm a "newbie" roaster who likes the tinkering with gadgets as much as I like to drink the coffee. Rodney This is an older, but interesting thread. I've been using my HG/FS setup a bit over 2.5 years now and the 8 cup/6" sifter has held up great. I'm surprised the screen hasn't given out with the heat/friction, but still working great. There is some wear where the axle enters the housing on both sides, but this thing has seen a TON of RPMs. I've looked through my stash of bearings, bushings, etc. to fill the gaps, but nothing that will fit just yet. The rigidity of my heat gun keeps the alignment pretty solid though. As mentioned in my thread I've done at least 600 batches (200 grams each) which equals around 265# and all is still going well. https://forum.homeroasters.org/forum/viewthread.php?thread_id=5776&pid=67571#post_67571 |
|
|
|

Page 2 of 2: 12
| Jump to Forum: |
Powered by PHP-Fusion Copyright © 2024 PHP-Fusion Inc
Released as free software without warranties under GNU Affero GPL v3
Designed with ♥ by NetriXHosted by skpacman