
Login

Shoutbox
You must login to post a message.
renatoa
07/26/2024 3:49 PM
Bill grubbe and Jk, 
allenb
07/26/2024 5:15 AM
Spiderkw Welcome to HRO!

renatoa
07/24/2024 8:31 AM
ramiroflores and John123,

 ?
?
?renatoa
07/21/2024 1:18 AM
 , Luislobo
renatoa
07/19/2024 11:28 AM
Koepea,
Forum Threads
Newest Threads
Skywalker roaster modsBackground Roast Iss...
Hello from Arkansas
TC4ESP
Green coffee reviews
Hottest Threads
| Skywalker roaster... | [375] |
| TC4ESP | [115] |
| War on Farmers by... | [47] |
| Adventures in flu... | [26] |
| Hello! (soon) Roa... | [17] |
In Memory Of Ginny

Donations
Latest Donations
dmccallum - 10.00
JackH - 25.00
snwcmpr - 10.00
Anonymous - 2.00
Anonymous - 5.00
dmccallum - 10.00
JackH - 25.00
snwcmpr - 10.00
Anonymous - 2.00
Anonymous - 5.00
Users Online
Guests Online: 6
Members Online: 0
Total Members: 8,393
Newest Member: Bill grubbe
Members Online: 0
Total Members: 8,393
Newest Member: Bill grubbe
View Thread
Who is here? 1 guest(s)
 Fluid Bed Roaster Build - bye bye Heat Gun and Flour Sifter
|
|
| jbrux4 |
Posted on 04/28/2020 2:12 PM
|
|
1/4 Pounder  Posts: 139 Joined: October 26, 2019 |
Quote renatoa wrote: Is there any technical reason to have all the piping sections so long, resulting so tall build? For instance why not having the chaff collecting jar at the level of the red cabinet? The intake filter and silencer adds height, but I am so glad I got that thing. it worked out great, and it supports the weight of everything above. I have much more head room in term of lofting beans, so there is no detriment to having it. Moving up from there, I have an additional 1.5" that could get shaved off if I had just one connection from the intake to the blower. Right below the blower, I have, from the first shipped roast chamber/sight glass that was broken, the bottom flange. I added this in because it coincidentally fit the blower housing almost perfectly. This added a little bit of height. The blower and then the blower chamber. The blower chamber is a Bain Marie pot that had to be a specific diameter. The pot is about 3.5" too tall, but it fit diameter wise - so I went with it. So, that is additional height. Above the Bain Marie Pot (hidden by the red cart) is the top flange of the first broken roast chamber/sight glass. I did this so that I could use the part as well as the turnbuckles to tighten the top and bottom flanges together. Using this added a little height. The heat pipe is 12" because the elements are in line. I have a perf plate and then a screen in the short section above the heat pipe. I did this so that I could detach the roast chamber to dump the beans. This added a little height. The 10" straight extension above the sight glass is because I kept loosing beans with bigger charges during roast and especially when trying to cool down after the roast. I can still get beans to fly out the top at around 60% blower. The top curved extension is there for a smooth curve into the reducer and the cyclone. Internal surfaces are smooth all the way into the chaff collector so nothing can get hung up and potentially catch fire. I wanted the chaff collector up and out of the way, so I just left it up there. Basically, when I started, I said that this would evolve throughout the build, and it definitely did. From this evolving method of building this, I worked through several issues while fixing some of those and creating others for me down the road. I have ideas on how to make this thing more convenient, but, as I said previously, I am plenty capable to lift, balance, attach, and detach things. I can go from being told to roast a new batch to having it literally done in 18 minutes. I would do several things differently if I were to go back and start again. To answer the question, I technically don't want beans escaping when I roast or cool down, so I added the extension. Also, my eventual goal is to have that curved part at the top go into a vent to the outside. My brain just kept everything up high. So, I guess, technically, I did not want to see the other options available and did it because that is how I saw it. R/
Jared |
|
|
|
| Husamka |
Posted on 05/04/2020 9:13 PM
|
|
1/4 Pounder Posts: 56 Joined: September 16, 2016 |
I need your advice, which of these attached RCs design is better for beans circulation for 500-700gr capacity?
Husamka attached the following images:

|
|
|
|
| jbrux4 |
Posted on 05/06/2020 5:33 PM
|
|
1/4 Pounder Posts: 139 Joined: October 26, 2019 |
Quote Husamka wrote: I need your advice, which of these attached RCs design is better for beans circulation for 500-700gr capacity? I can only give you what I know from my experience, and I have only experienced the conical one combined withy a powerful blower. I have "0" issues with bean circulation with my set-up. I have a lot of head room to go further, but that is prob in most part to my blower and not necessarily the design of the chamber. I mean, it is a combination of everything that gets you to a sweet spot or a range that can work well. In other words, it is the sum of all the parts and with their interactions, dependencies, and reactions. R/
Jared |
|
|
|
| Husamka |
Posted on 05/07/2020 11:41 PM
|
|
1/4 Pounder Posts: 56 Joined: September 16, 2016 |
Thank you Jared, for your clarification. |
|
|
|
| renatoa |
Posted on 07/18/2020 2:49 AM
|
|
Administrator Posts: 3104 Joined: September 30, 2016 |
Quote renatoa wrote: My FB dream machine would be something of the compactness of a filter coffee machine, something like a Nesco: pump in the filter machine water compartiment location, popper style heater in the base, beans in a glass carafe, chaff collecting in the coffee filter compartiment location, above carafe. 250-333 grams would be enough for a household appliance. Dreaming ?  Quote CharcoalRoaster wrote: OGH actually built something of what you're describing Renatoa -- except in a commercial brewer instead of home counter top one. Too big for your dreams?  Some guys in Korea dreaming like me... https://www.kicks...ee-roaster |
|
|
|
| CK |
Posted on 07/20/2020 11:49 AM
|
|
1/2 Pounder  Posts: 252 Joined: December 07, 2018 |
Interesting. Good looking machine, but only a 120 gram charge... I'd have to roast every 1.5 days to keep up with household needs. Also, no smoke mitigation unless you put it under a range hood... that could be an issue for some, especially with back to back roast sessions. |
|
|
|
| jbrux4 |
Posted on 10/16/2020 3:23 PM
|
|
1/4 Pounder Posts: 139 Joined: October 26, 2019 |
Well, it has happened. I burnt out my elements. How it happened? I finshed a 24 oz green weight roast and went to dump the beans. During that course, I accidentally hit the element with my silicone gloves on. It turned up to 30 something percent. So, as I was coling down the beans with my back turned to the roaster, I smelled something after about 20 seconds. I turn, and there is a flame coming out the top of the heat pipe - like an oil lamp wick kind of fire. I immediately turned the elements to 0 and unplugged them. I then turned on the blower to cool it all down. The flame shot up for a second, but it went out almost immediately. The SS pipe got that high heat color change. The element wires were sagging and almost broke the circuit, but, through it all, there was no electrical arcing or sparking. The 12awg wires feeding the element were fine, as they were high heat wires with fiberglass shielding. The mica insulation in the pipe withstood it all. I was gonna wait to redo the heat pipe until an element naturally ceased to operate, but this issue has become an opportunity to do it sooner. I already had the two lengths of pipe and 1 element. I got another element from a Grainger pick up spot. I have also contacted a retired machinist in the neighborhood to try and get some holes drilled in the pipe for the wiring and thermocouple placement. The ET exposed juction thermocouple was near, if not in the flame, but it still performs. I've tested it against an external thermocouple and the results are the same. The life of the thermocouple may have been shortened, but it still operates. All of this happened shortly after reading about CKs heater safety circuit - https://homeroast...post_72328, and I thought, "Yeah, that would be nice to have, but I've roasted a hundred times and all is well." Well, things happen. Things somehow find a way to go wrong. I'll be doing a deeper dive into this to see if it is doable on my rig. Also, originally, I wanted to have switches to turn off the elements once done with a roast instead of just turning down the dial - a little extra insurance and control - but I was already too deep into the electrical box to "want" to switch it up. I should have. The heat pipe(s) are now simplified as compared to my 1st iteration. Less holes because I don't need the rods holding an element in place. The elements do not move or have any jiggle without the rods. Also, instead of a coupling to screw the element into, I am going with bulkhead nuts to tighten the element to the pipe. So, the plan for the heat pipes is attached. It is a simple change of design that allows me ease and flexibility with replacing/fixing anything. 
jbrux4 attached the following images:


Edited by jbrux4 on 10/16/2020 3:47 PM R/
Jared |
|
|
|
| allenb |
Posted on 10/16/2020 8:00 PM
|
 Administrator Posts: 3869 Joined: February 23, 2010 |
Doh! I hate it when that happens, My favorite safety setup is having the electricity leaving the blower switch feed the input to the switch that powers the heating elements Or, in cases where the heating elements can be out of the air circuit path altogether, an air pressure proving microswitch powering a relay. Glad to hear it was contained! 1/2 lb and 1 lb drum, Siemens Sirocco fluidbed, presspot, chemex, cajun biggin brewer from the backwoods of Louisiana
|
|
|
|
| Husamka |
Posted on 10/18/2020 9:25 PM
|
|
1/4 Pounder Posts: 56 Joined: September 16, 2016 |
Maybe these Ceramic Insulation Tubes are useful for you. I bought it for the same purpose. same 2x6" with the same heater. just you need to drill 1mm to pass any bar covered by these ceramic. https://www.aliex...5613%23478 |
|
|
|
| jbrux4 |
Posted on 10/25/2020 2:22 PM
|
|
1/4 Pounder Posts: 139 Joined: October 26, 2019 |
Quote Husamka wrote: Maybe these Ceramic Insulation Tubes are useful for you. I bought it for the same purpose. same 2x6" with the same heater. just you need to drill 1mm to pass any bar covered by these ceramic. https://www.aliex...5613%23478 Thanks Husamka. Anything ceramic, in my early research, seems to have always been expensive, and these aren't. R/
Jared |
|
|
|
| jbrux4 |
Posted on 10/25/2020 2:36 PM
|
|
1/4 Pounder Posts: 139 Joined: October 26, 2019 |
Well team, I am back to roasting. I just did 5 consecutive roasts varying between 16oz & 21 oz roasted weight between City to Vienna: (1) Panama Boquete (2) African Burundi (3) Ethiopian Yirgacheffe (4) Papua New Guinea (5) East Timor The ability to work on a single element at a time is a great maintenance upgrade. Why I didn't do that initially, who knows? I shouldn't need to do anything with the elements until they die a natural death or I cause them heat stroke. I have determined that I would rather roast without the cyclone because I just can't hear the bean development/cracks. I am thinking about a vacuum/suction above the roast chamber to suck in all the chaff. Always learning and trying to progress. There are some cool builds that have happened or are ongoing. I am incredibly thankful to the Homeroasters.org group for freely sharing all their info. I am sure it has helped all who dive into this craft and take a peek at the creations and info in this site. R/
Jared |
|
|
|
| hstan4 |
Posted on 02/27/2022 9:39 PM
|
|
Newbie  Posts: 21 Joined: July 16, 2020 |
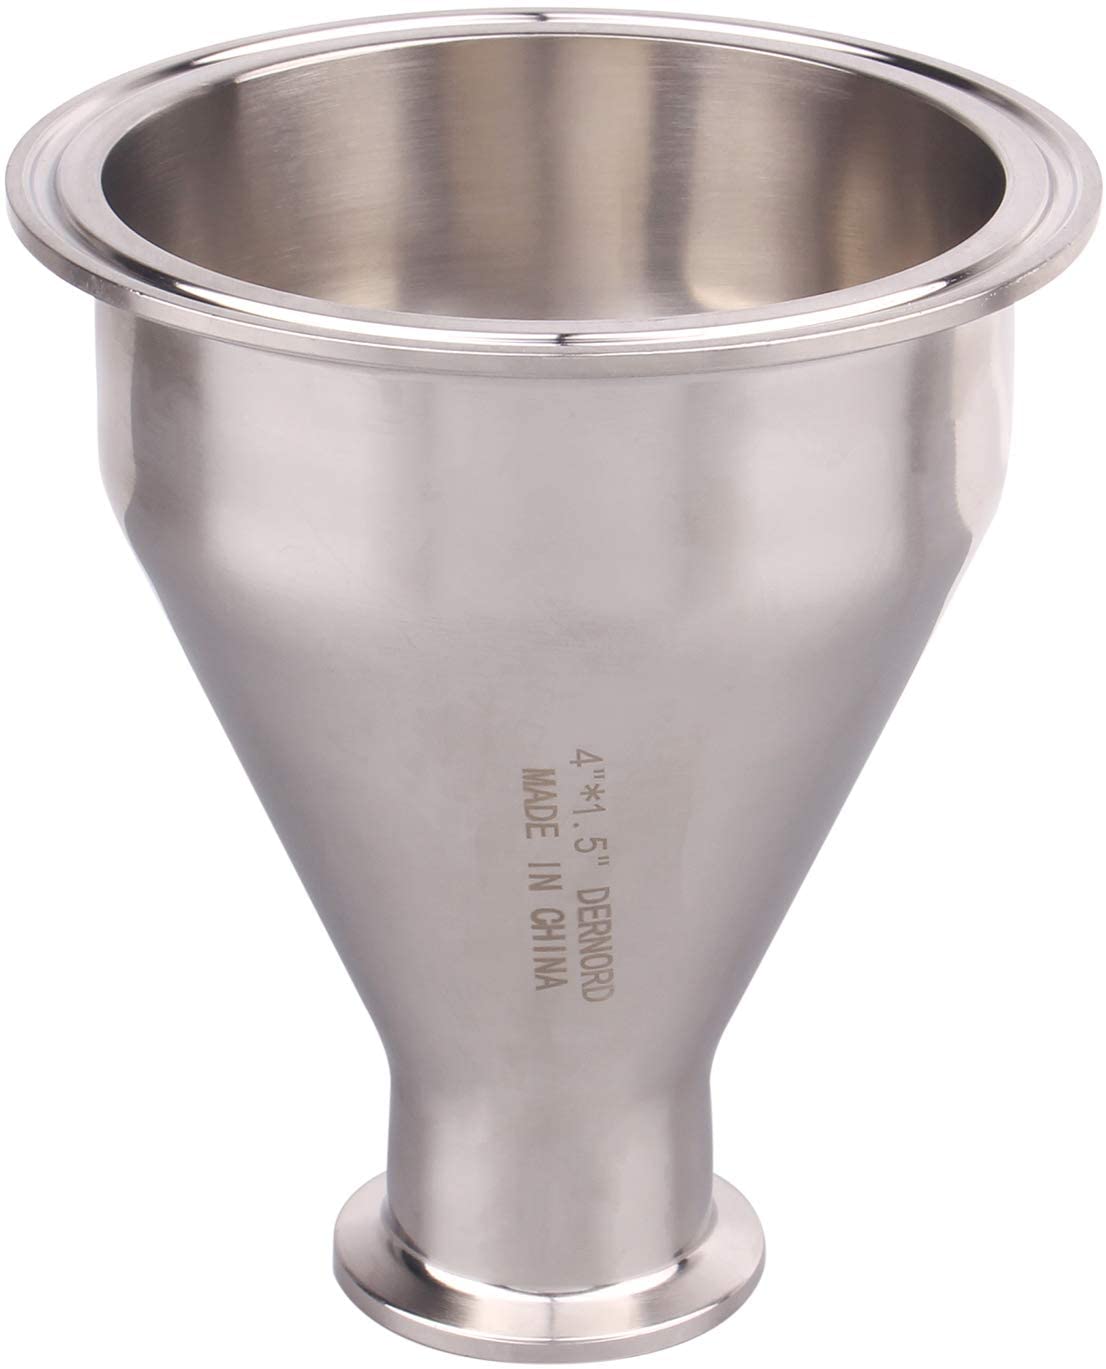
Hey Jared, Just discovered this awesome thread and have learned an immense amount from your build! I�m looking to build one similar and am curious your thoughts on the tri clamp roasting chamber size. I hadn�t realized just how much of the beans would physically be in the conical reducer in this setup and am wanting to ensure I balance the heat from the heating element as well as getting a RC size that ensures the beans are making enough contact in the chamber. I saw you mention the size of your reducer go from 1.5� to 4�, would you recommend a 4� sight glass or maybe closer to 3� for roasting about a pound of coffee per batch? Ideally, doing more than a pound would be great, but it seems the heating element setup is a little easier for a smaller batch size of near a pound as opposed to two. |
|
|
|

| Jump to Forum: |
Powered by PHP-Fusion Copyright © 2024 PHP-Fusion Inc
Released as free software without warranties under GNU Affero GPL v3
Designed with ♥ by NetriXHosted by skpacman